TABERNACLE MODEL
(Instructions Part 2)
Quick Links to other Instructions:
Part 1
Part 3
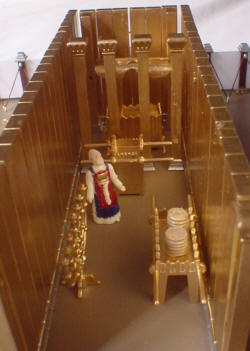
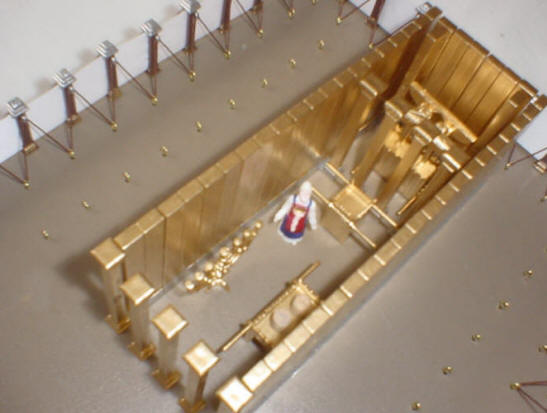
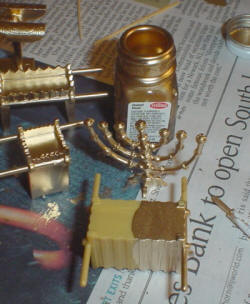
You don't HAVE to paint the posts and furniture but it sure makes them look nicer. The gold colored wall posts and furniture come in a kind of flat "gold" color. If you take the time to paint them with metallic gold they sure do shine!
click to enlarge
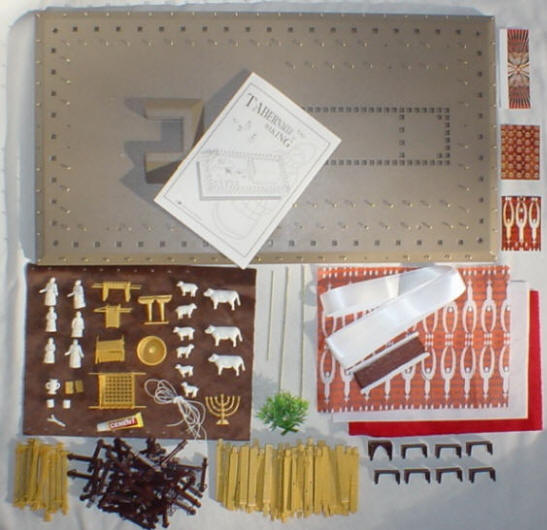
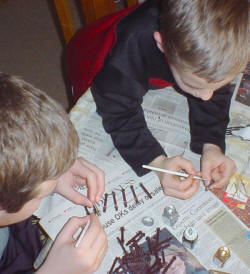
The model pretty much snaps together. You can do as much painting as you wish. Other than painting the tiny figurines, the painting is not too hard.
click to enlarge
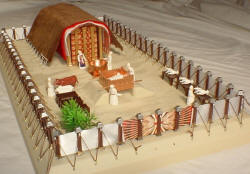
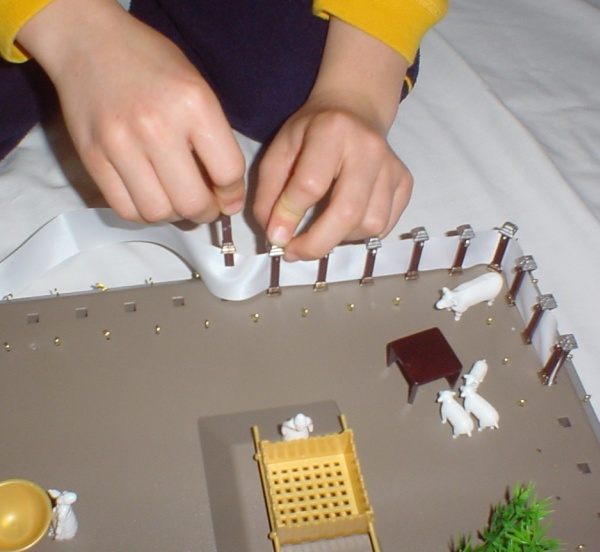
The kit has the courtyard posts as dark brown. If you want to make them more detailed you can paint the tops and hooks silver and the bases bronze as described in the Bible text. The posts fit into the holes that are factory preformed around the bottom of the included base. The posts are slit in the center and slide over the included courtyard curtain.

click to enlarge
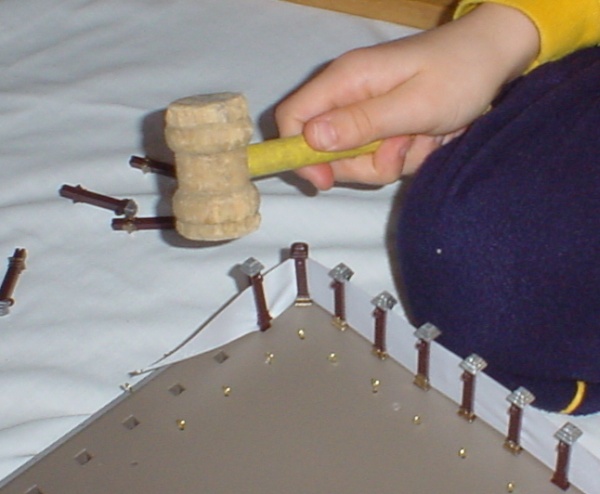
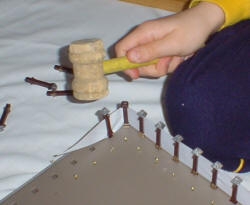
In our model the posts so snugly that we didn't need to glue them in. Some fit so tight that we had to tap them in with a small wooden mallet. If you painted the tops silver then you may have to retouch the paint on the top after tapping.
click to enlarge
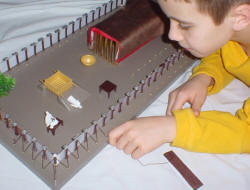
After you get the posts in you run the included string (rope) from the "brass" rings in the base to the "silver" hooks in the posts. The corners have to be wrapped twice (see the instructions included in the kit) to make it come out right. In our kit the "brass" rings were already set but some came loose. You might ought to check them and have some glue ready to use if some come loose. If you loose them you can get some thin brass or gold colored wire from your local hobby or hardware store and make your own.
click to enlarge
Click here to continue to
Part 3 of instructions . . .
Quick Links to other detailed plastic model kit Instructions:
Part 1
Part 2
Part 3
|